Back-to-school week, thirty tags deep
Every teacher knows the ritual: buy a cute editable desk-tag set, open it in Word or Acrobat, and type thirty names one tag at a time — then do it again for the mid-year move, the new student, the damaged tag. If your class list already exists as a spreadsheet (and it always does), the whole job is an import, not a typing session.
Step 1 — The roster
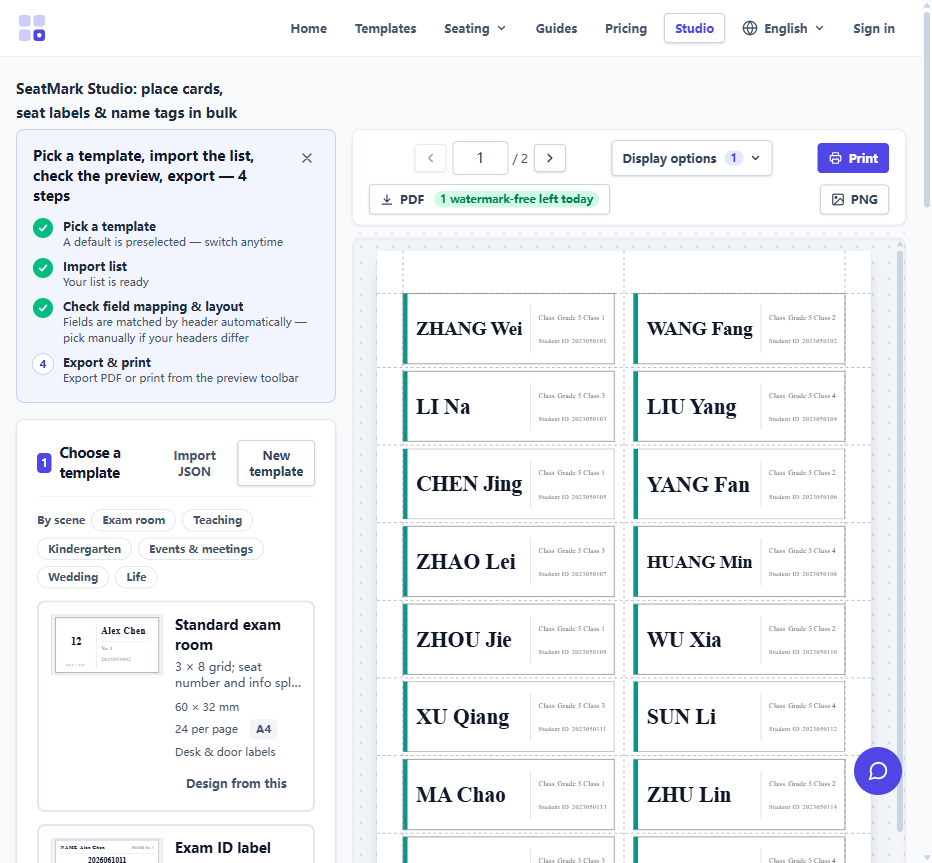
Export the class list from your student information system, or keep it in Sheets/Excel. One row per student; only the name column is essential. Extra columns — reading group, student ID, table colour — can ride along and map to a secondary field or stay unused.
Step 2 — Pick the layout
In the studio, choose a name-tag template sized for desks. Wide, low tags (roughly 90×32 mm, 16–24 per page) sit neatly on a desk corner; larger formats work for cubbies, lockers and coat hooks. Fonts and colours are set once and apply to every tag in the batch.
Step 3 — Import, preview, print
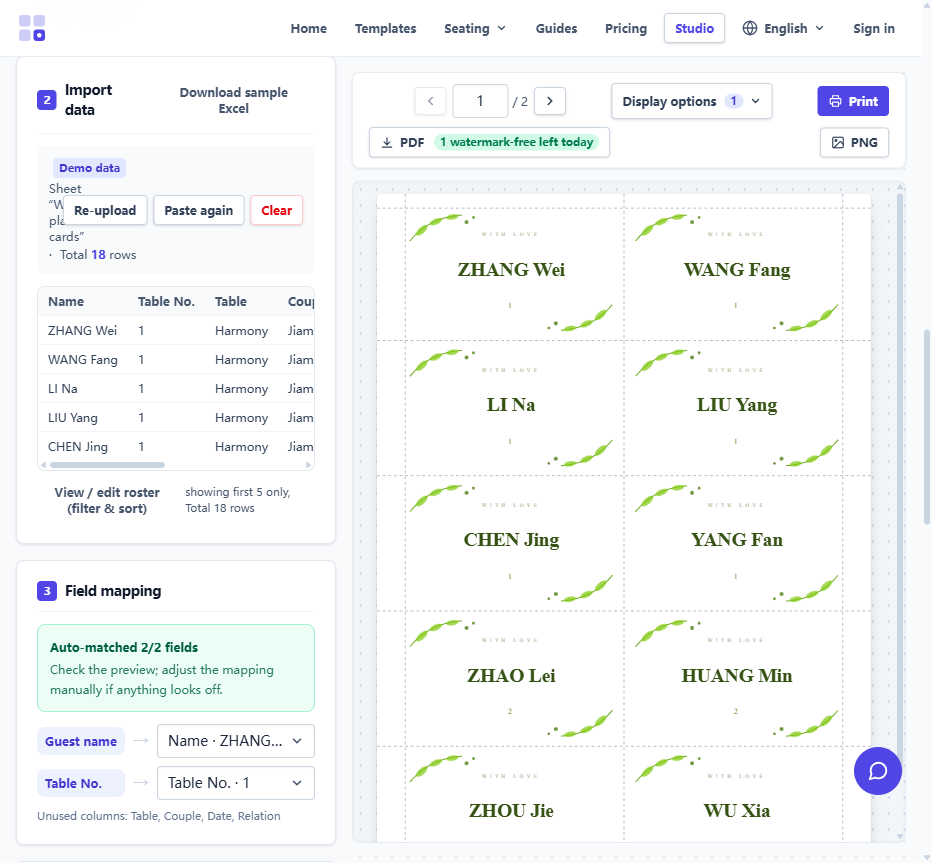
Upload or paste the roster — headers map automatically, and the preview fills with real names. Print at 100% scale (never "fit to page"), cut along the guides, and tape or laminate. Reprinting one page for a new student takes seconds.
Why not the editable-template route
Editable PDFs and PowerPoint templates are fine for a one-off, but they scale badly: every name is manual, every edit is manual, and long names overflow text boxes sized for "Ava". A roster-driven batch tool handles the whole class at once, shrinks long names to fit, and re-renders the moment the list changes.
Privacy
Student rosters are exactly the kind of data schools should not be pasting into random web tools. SeatMark parses the file locally in the browser — names never leave the device, and the tool keeps working offline once loaded.