Why the Eventbrite export is half the job
On-site badge printing at the door is where small events bleed time — typing names into a Word mail merge the night before, or paying a registration vendor $500+ for badge stock. The Eventbrite attendee report already has every field a badge needs. If you can export it and drop it into a batch tool, the badges are a ten-minute job.
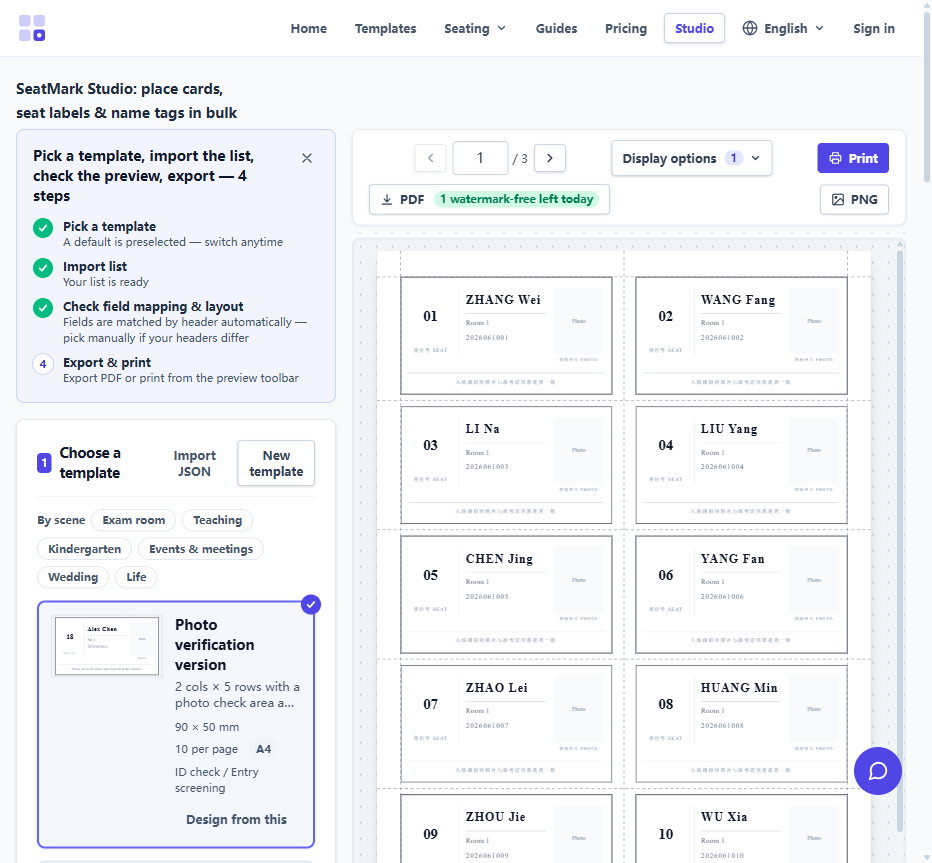
Step 1 — export from Eventbrite
In Eventbrite, open the event and go to Reports → Attendee report. Choose Excel and include at least the name fields, email and ticket type. The file arrives as one row per attendee — exactly the shape a batch tool wants. Google Sheets or Excel can also clean it (dedupe test orders, drop cancelled tickets) before you print.
Step 2 — upload and map
Drop the .xlsx into the studio and pick a badge template. The import step reads the header row: First name, Surname/Last name, Email, Ticket type are recognized automatically — drag anything unmatched onto a badge field. Keep Ticket type visible if you want at-a-glance role colors at check-in.
Step 3 — print on real badge stock
Set the paper layout to match what is in the printer: Avery 5390 (8 per sheet, the classic clip-in badge), 5392 (6 per sheet, bigger type), or 5395 (8 per sheet name-tag inserts). Print at actual size — never "fit to page" — and the names land inside the die-cut, not across the perf. Plain card with cut guides works for budget events; a guillotine or craft knife does the rest.
Door-day tips
- Re-export the morning of. Last-minute registrations are the normal case — export again, re-upload, print only the new badges.
- Print a blank strip per type. A few empty VIP and staff badges cover walk-ins.
- Sort, don't search. Badge holders sorted alphabetically beat any pickup table app.
The same list, further
The attendee file also drives spreadsheet-driven badges generally, session name tags, and even tent cards for the speaker table — one export, every print run. See the badge generator page for the direct workflow.