Why start from a spreadsheet
Most couples already have their guest list in Excel, Numbers or Google Sheets — RSVPs, meal choices, plus-ones. Re-typing two hundred names into a seating tool is exactly the kind of work a spreadsheet should spare you. SeatMark reads that list directly and turns it into two things you actually need on the day: a seating chart for the entrance, and a set of place cards for the tables.
Everything runs in your browser. The file is parsed locally, so a guest list with contact details or dietary notes never touches a server — useful when you are handling family data.
Step 1 — Shape the list
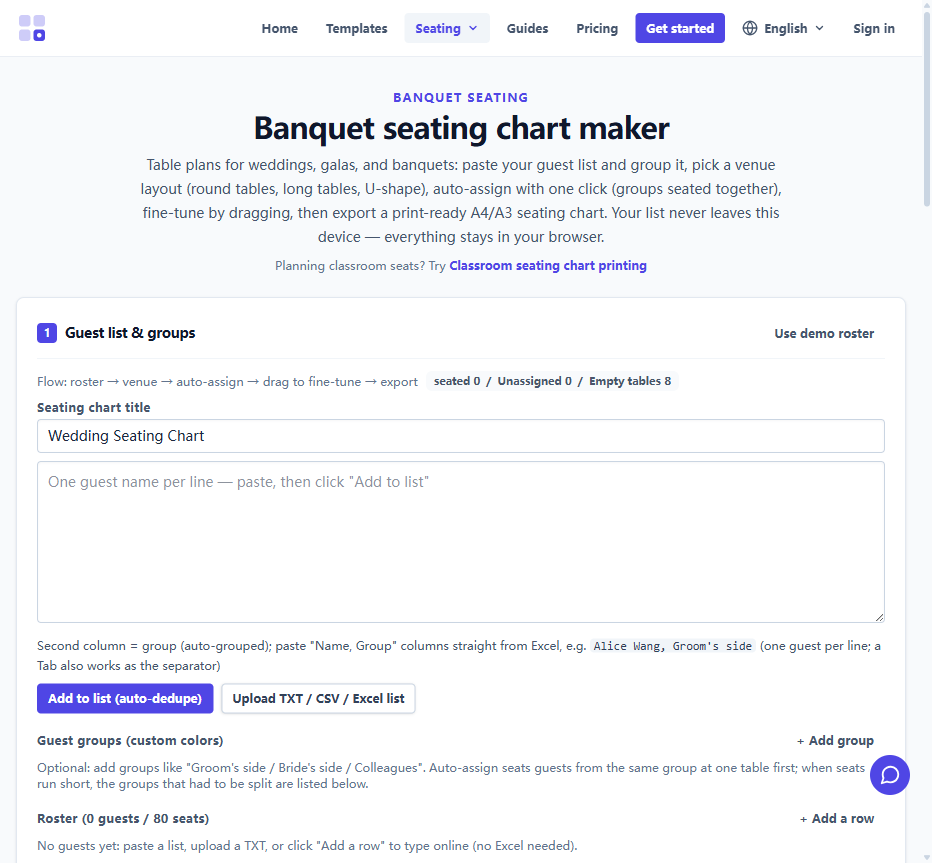
One guest per row, first row as headers. A name column is the only requirement; a table or group column lets you pre-assign seats. Extra columns (meal choice, RSVP status) ride along harmlessly.
- Save or export the sheet as
.xlsxor.csv. - If names sit in several sheets, keep them — multi-sheet workbooks import sheet by sheet.
- Watch for trailing spaces in names; they can split one guest into two rows visually.
Step 2 — Import and pick a template
In the studio, choose a wedding place-card template, then import the file. Column headers are matched to card fields automatically — check the mapping once, adjust if a header was not recognised, and every card previews with real names immediately.
Step 3 — Seat the guests
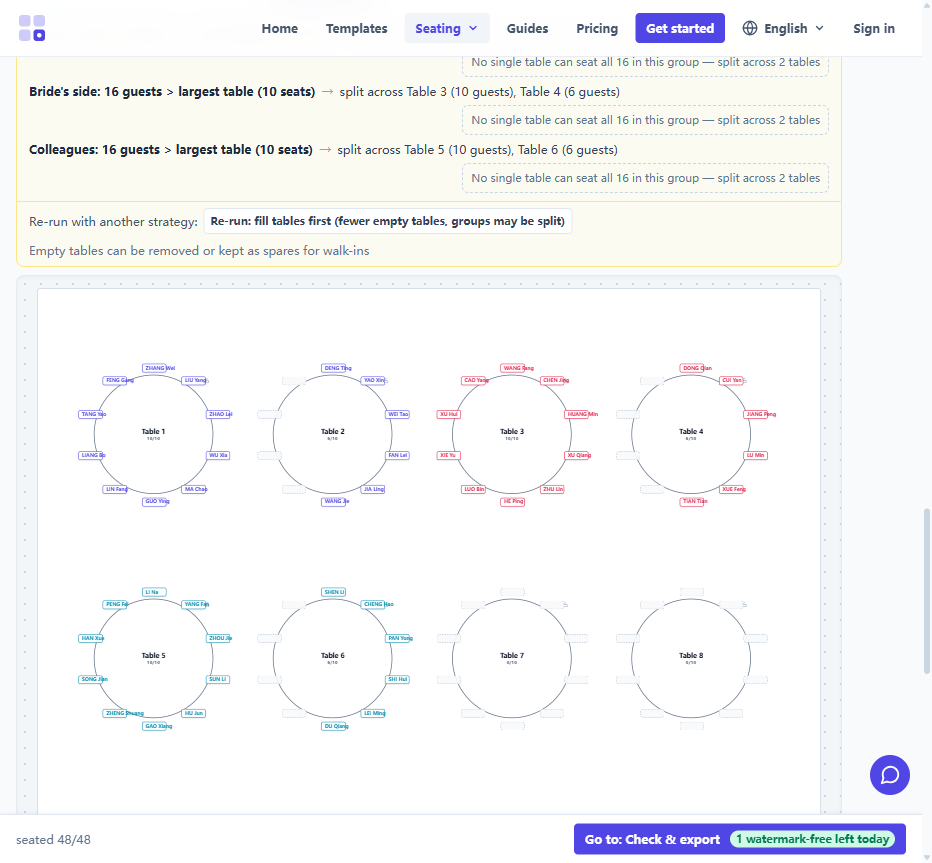
Open the banquet seating view and create your tables — round, long, U-shape. Drag guests from the list onto seats; anyone unassigned waits in the side list so nobody gets lost. Changing your mind costs a drag, not a redo.
Step 4 — Print the chart and the cards
Export the seating chart as PDF at A4 or A3 for the welcome board, then export the place cards — names and table numbers already filled. Print at 100% scale (never "fit to page") and cut along the printed guides. If your printer shifts the output a fraction of a millimetre, run the built-in calibration wizard once and the offset is compensated.
Common pitfalls
- Scaled printing. "Fit to printable area" shrinks every card by a few percent and misaligns cuts — always print at 100%.
- Duplicate names. Two guests with the same name are flagged by the data check; disambiguate before seating.
- Last-minute changes. Keep the browser tab open on a laptop at the venue — edits re-render instantly and the PWA keeps working even if the Wi-Fi does not.